How to Dial In Espresso: A Step-by-Step Beginner’s Guide
If your home espresso tastes sour one morning and harsh the next, you don’t have a bad machine — you have an undialed one. Learning how to dial in espresso is the single skill that separates frustrating shots from consistently good ones, and it takes far less equipment and mystique than most people assume.
This guide walks through what dialing in actually means, the small number of variables that matter, and a repeatable routine you can run in about fifteen minutes with any grinder and machine.
What “Dialing In” Actually Means
Dialing in is the process of adjusting your grind and dose until a given coffee produces a shot you like, in a predictable amount of time, over and over again.
It exists because coffee is not a fixed ingredient. A bag of beans changes as it ages. A new roast from the same roaster behaves differently from the last one. Humidity shifts how grounds clump. Your grinder’s burrs season over their first few kilos of use. Every one of those changes moves the target, which is why espresso needs tuning in a way that drip coffee largely does not.
The goal is not one perfect number. The goal is a narrow, repeatable window you can return to.
The Three Numbers That Define a Shot
Almost everything in espresso can be described with three figures:
- Dose — the weight of dry coffee in the basket, in grams.
- Yield — the weight of liquid espresso in the cup, in grams.
- Time — how long the pump runs, in seconds.
Dose and yield together give you a brew ratio. An 18-gram dose producing 36 grams of espresso is a 1:2 ratio, the most common starting point for modern espresso. A 1:1.5 ratio is a shorter, more concentrated shot; 1:2.5 is longer and lighter-bodied.
Time is the diagnostic. It tells you how much resistance the coffee bed is putting up, which is a proxy for how fine your grind is. A typical target is 25 to 30 seconds from the moment the pump starts to the moment you stop it.
What You Need Before You Start
You do not need an expensive setup, but two things are genuinely non-negotiable.
A Grinder That Adjusts Finely
Espresso lives in a narrow band of particle size. A grinder with only a handful of coarse steps will jump straight over the useful range — you’ll go from a shot that gushes in eight seconds to one that chokes the machine with nothing usable in between. A burr grinder with fine or stepless espresso adjustment is the most important purchase in a home setup. If you’re still choosing, our guide to the best coffee grinders for espresso covers what to look for.
A Scale That Reads to 0.1 g
You cannot dial in what you cannot measure. A small kitchen scale that reads tenths of a gram, ideally with a built-in timer, turns espresso from guesswork into a short feedback loop. Weigh the dose going in and the espresso coming out — volume in the cup is misleading, because crema volume varies wildly between coffees.
Fresh Coffee — But Not Too Fresh
Espresso is best with beans roasted within roughly the last month. Very fresh coffee, in the first three to five days after roasting, is still releasing carbon dioxide vigorously, which disrupts the flow of water through the puck and makes shots erratic and hard to read. Let a new bag rest a few days before you try to dial it in. For keeping it in good shape after that, see how to store coffee beans.
How to Dial In Espresso: The Step-by-Step Routine
Here is the core loop. Run it whenever you open a new bag.
Step 1: Set a Fixed Starting Point
Pick a dose and stick to it for the whole session. Most double baskets are designed for 18 grams, and the number is usually printed on the basket or in the manual. Weigh 18 grams (±0.2 g) into the portafilter.
Set your target yield at twice the dose — 36 grams — and your target time at 25 to 30 seconds.
Changing one variable at a time is the entire method. If you adjust dose and grind simultaneously, you learn nothing from the result.
Step 2: Distribute and Tamp Consistently
Before tamping, level the grounds. Coffee falls out of a grinder in uneven mounds, and water will always take the path of least resistance through a lopsided bed — a phenomenon called channeling, which produces a shot that is simultaneously over- and under-extracted.
Tap the portafilter gently on the counter, or sweep the surface level with a finger or a distribution tool. Then tamp firmly and, above all, flat. Level matters far more than force. Aim for the same pressure every time; roughly the weight of a firm push is plenty.
Step 3: Pull the First Shot and Time It
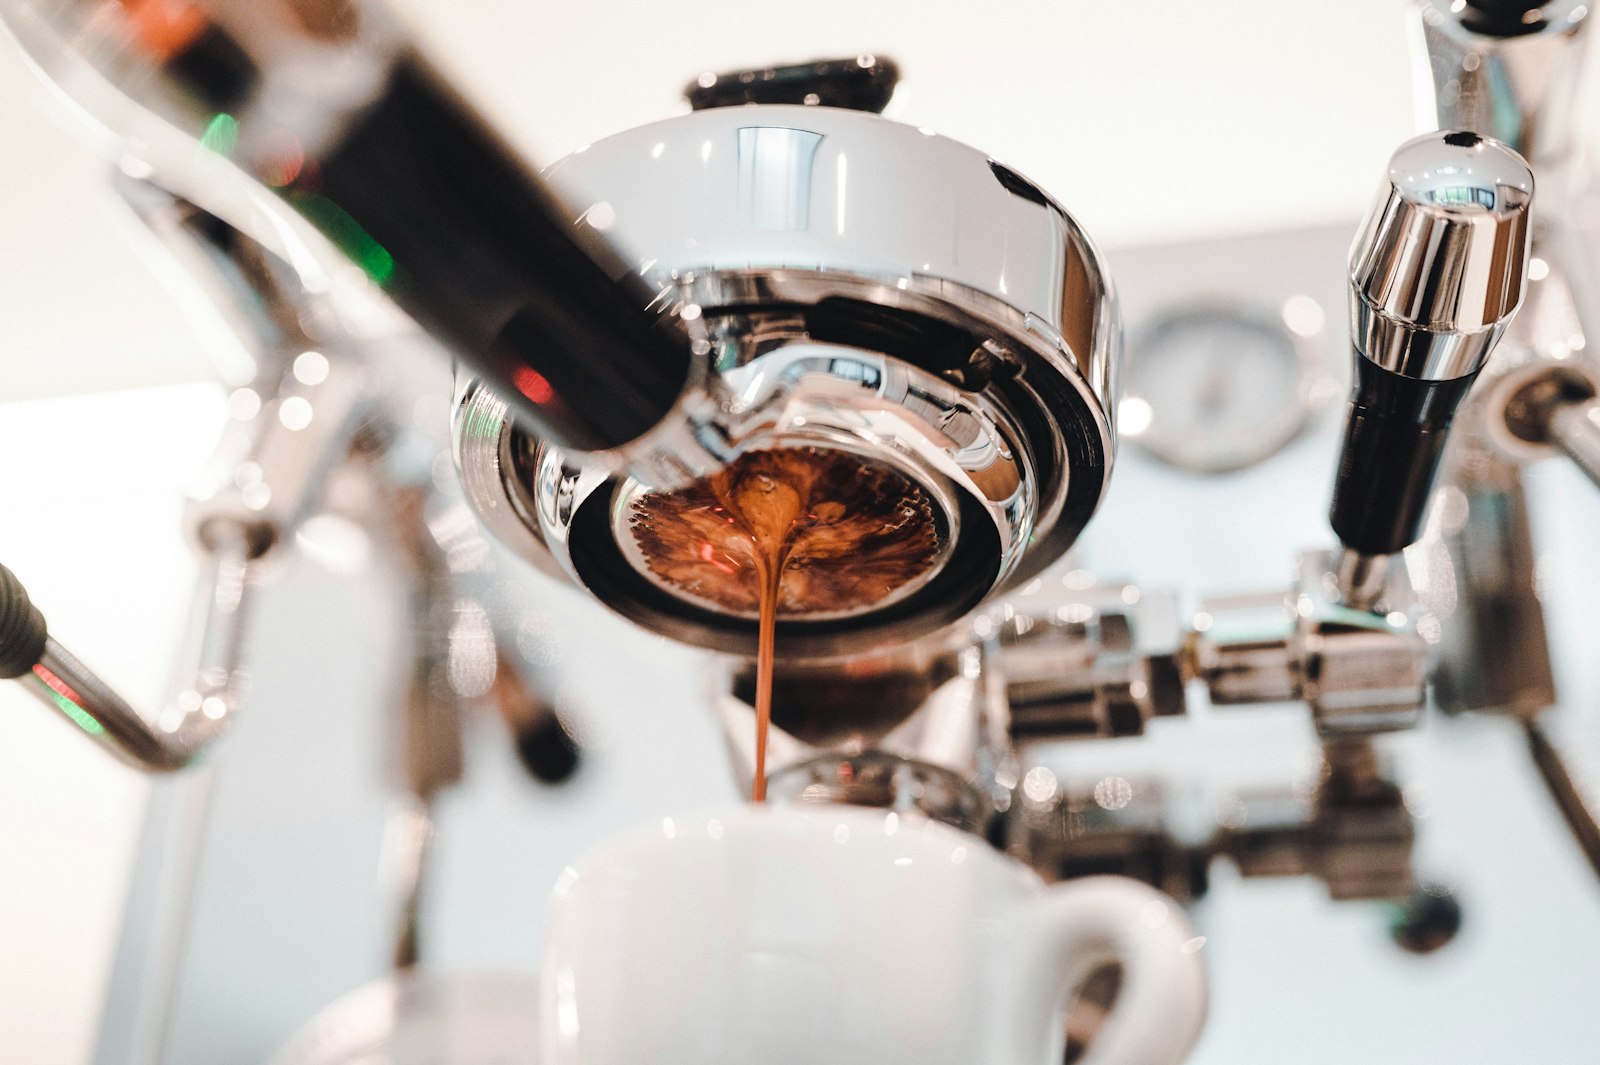
Lock the portafilter in, put your cup on the scale, tare, and start the pump and the timer together. Stop when you hit 36 grams.
Note the time. That number is your instruction for what to change next.
Step 4: Adjust the Grind Based on Time
This is the heart of dialing in, and the rule is short:
- Shot ran too fast (under ~22 seconds to reach 36 g) — grind finer. The water is moving through too easily.
- Shot ran too slow (over ~33 seconds) — grind coarser. The bed is too restrictive.
- Shot landed in 25–30 seconds — taste it before changing anything.
Make small adjustments. On a stepped grinder, move one step. On a stepless grinder, move a few degrees. Espresso grind is sensitive enough that a change you can barely see on the dial can shift a shot by five seconds.
After each adjustment, purge a few grams of coffee through the grinder to clear out the old setting before weighing your next dose.
Step 5: Taste, Then Fine-Tune
Time gets you into range. Taste gets you the rest of the way, and it’s where most people stop too early.
Once your shot lands in the target window, drink it and ask one question: is it sour or is it bitter?
Reading the Shot: Sour, Bitter, or Balanced
Nearly every espresso fault traces back to extraction — how much dissolved material the water pulled out of the grounds. Our explainer on coffee extraction goes deeper, but the practical version is short.
Under-Extracted: Sour, Thin, Salty
The water didn’t pull out enough. Acids dissolve first in the brewing process, so an under-extracted shot tastes sharp, sour, sometimes vaguely salty, and finishes quickly with a thin body.
Fix: grind finer, or increase the yield slightly (pull to 38–40 g instead of 36).
Over-Extracted: Bitter, Dry, Ashy
The water pulled out too much, including the harsh compounds that come out late. An over-extracted shot tastes bitter and hollow, and leaves a drying, astringent feeling on the tongue. If you want the chemistry behind that, we covered why coffee tastes bitter separately.
Fix: grind coarser, or reduce the yield (stop at 32–34 g).
Balanced
Sweetness sits in the middle, acidity is present but rounded rather than sharp, and the finish lingers pleasantly instead of drying out. When you get there, write the numbers down — dose, grind setting, yield, time. That note is what lets you rebuild the shot tomorrow.
A Quick Reference Table
| Symptom | Likely cause | First adjustment |
|---|---|---|
| Shot gushes, pale, watery | Grind too coarse | Grind finer |
| Shot drips or stalls | Grind too fine | Grind coarser |
| Sour, sharp, thin | Under-extracted | Finer, or longer yield |
| Bitter, drying, hollow | Over-extracted | Coarser, or shorter yield |
| Fast and bitter | Channeling | Improve distribution and tamp level |
| Times swing wildly shot to shot | Inconsistent prep or very fresh beans | Standardize technique; rest the beans |
Common Mistakes That Waste Beans
Changing Two Things at Once
If you grind finer and also raise the dose, and the shot improves, you have no idea which change did it. One variable per shot. It feels slow; it is dramatically faster than the alternative.
Chasing the Timer Instead of the Taste
Twenty-five to thirty seconds is a starting heuristic, not a law. Plenty of excellent shots land at 22 seconds or 34. If a shot tastes great outside the window, the window was wrong, not the shot.
Ignoring Distribution
A channeled shot produces confusing, contradictory results — fast flow and bitter taste together — that no grind adjustment will fix. If your times are inconsistent while everything else is held steady, look at how you’re prepping the puck before you touch the grinder.
Forgetting the Water
Water is over 90% of what’s in the cup, and its mineral content affects both extraction and the scale that builds up inside your machine. If your espresso tastes flat and lifeless across every setting, the water may be the variable. We covered this in the best water for coffee.
Re-Dialing After Every Single Shot
Some day-to-day drift is normal. If a shot runs two seconds off, pull another before reaching for the grinder — you may simply have tamped differently.
How Often Do You Need to Re-Dial?
Realistically:
- New bag of beans — always, even from the same roaster and the same origin.
- Same bag, over its life — expect to go slightly coarser as the coffee ages past two or three weeks and releases less gas.
- Big weather swings — humidity changes can nudge the grind a step in either direction.
- After cleaning or moving the grinder — burrs rarely reseat in exactly the same position.
Once you know how to dial in espresso by feel, re-dialing a familiar coffee takes two or three shots rather than a whole morning.
Dialing In Lighter and Darker Roasts
Roast level changes the target. Darker roasts are more soluble and more brittle: they grind finer at the same setting, extract faster, and turn bitter sooner, so they generally want a slightly coarser grind and a shorter yield.
Lighter roasts are denser and harder to extract, which is why they often need a finer grind, a longer yield, and sometimes hotter water to avoid tasting sour. If you’re unsure which camp your beans fall into, roast levels explained is a useful primer.
The Practical Takeaway
Learning how to dial in espresso comes down to a loop you can memorize: fix your dose, pull a shot to twice that weight, time it, adjust the grind by one small step in the direction the clock tells you, and then taste for sour versus bitter. Repeat until it’s good, and write down what “good” was.
The first session with a new coffee might cost you four or five shots. After a few weeks, it’ll cost you two. That’s the whole craft — not a secret setting, just a short, honest feedback loop you’re willing to run.
If you’re still building the foundations, start with how to make espresso at home, then come back here to refine.
— Caffeinated Times