How to Make Cold Foam at Home (Easy Barista Method)
Cold foam is the reason a plain iced coffee suddenly looks and tastes like something you paid seven dollars for. It is a thick, cool cap of aerated milk that sits on top of a cold drink instead of dissolving into it — and the good news is that it takes about two minutes and no espresso machine.
This guide covers how to make cold foam at home: the basic method, the sweet cream version cafes are known for, which milk works best, four tools compared, flavored variations, and what to do when your foam comes out flat.
What Cold Foam Actually Is
Cold foam is milk that has been aerated cold — no steam, no heat. The result is a dense, pourable foam with very small bubbles, closer to a loose whipped cream than to the airy cap on a cappuccino.
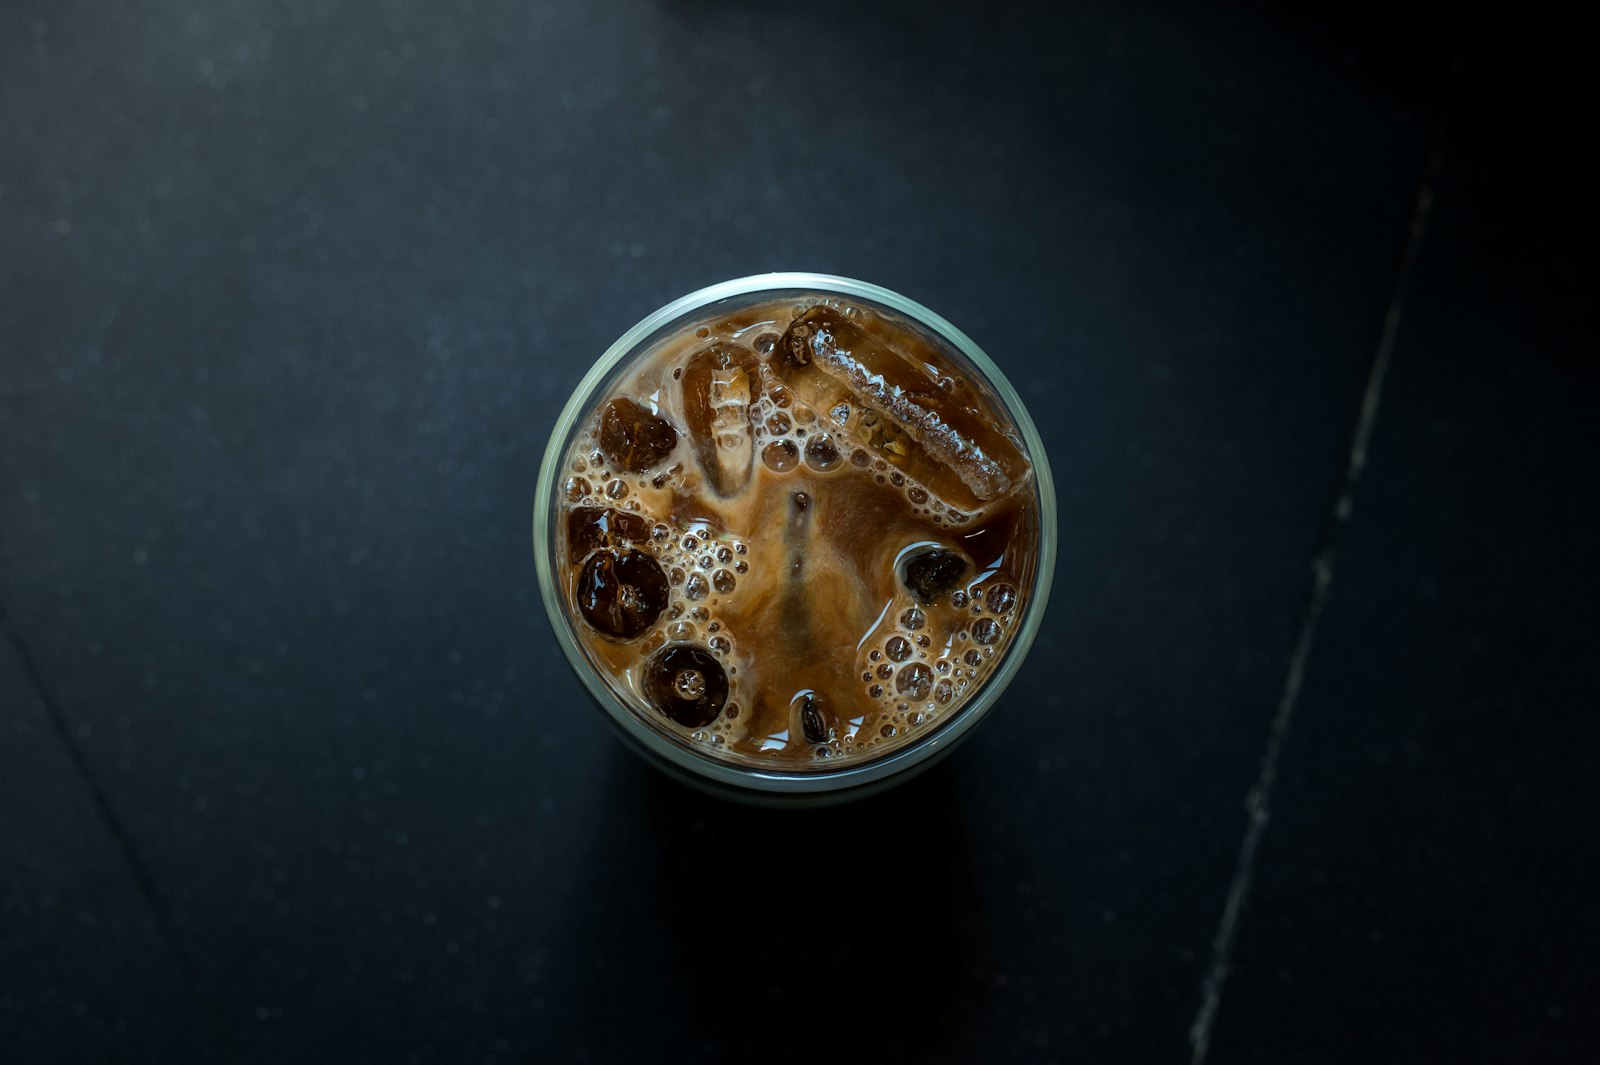
Because it is never heated, it holds its texture on top of ice instead of collapsing. That is the entire point. Steamed milk foam poured onto an iced drink deflates within seconds; cold foam sits there, slowly sinking through the coffee as you drink, and gives you a different ratio in every sip.
You will see it on iced coffee, cold brew, iced tea, matcha, and even lemonade. It is a texture, not a recipe, which is why it is so easy to riff on.
Why Cold Milk Foams Differently Than Steamed Milk
Foam is air trapped in a liquid, held in place by proteins that unfold and form a film around each bubble. Fat, on the other hand, tends to destabilize foam — fat globules interfere with those protein films and pop bubbles.
When you steam milk, heat helps the proteins unfold and also melts the fat, which is why hot milk foam is airy and light but relatively short-lived. Cold milk keeps its fat solid and its proteins tighter, so you have to put in more mechanical work — more whisking, more agitation — but what you get back is a tighter, denser, longer-lasting foam.
Two practical consequences follow:
- Lower-fat milk foams more easily cold. Skim and 2% whip up faster and taller than whole milk or cream.
- Higher-fat milk gives richer but heavier foam. Half-and-half needs more effort and often blending rather than frothing, but the result tastes far more luxurious.
The sweet cream versions you get at cafes split the difference: they blend a low-fat milk with a small amount of cream and sugar, getting body from the cream and structure from the milk proteins.
What You Need
The equipment list is short:
- Cold milk — genuinely cold, straight from the fridge
- A frothing tool — a handheld milk frother is easiest, but a French press, a jar, or a blender all work
- Optional: a sweetener — simple syrup, vanilla syrup, or sugar
- A tall glass — cold foam looks best when you can see the layers
A handheld frother costs very little and takes up no space, and it is the tool most likely to become part of your daily routine. If you want a broader look at the options, our guide to frothing milk at home compares methods in more detail.
The Basic Cold Foam Recipe
This is the two-minute version. It makes enough to top one 16-ounce drink.
- Measure 1/4 cup (about 60 ml) of cold skim or 2% milk into a narrow cup or a measuring jug. A narrow vessel matters — it keeps the milk deep enough for the frother to work and shallow enough in width to build pressure.
- Add sweetener if you want it. One to two teaspoons of simple syrup or vanilla syrup. Add it now, not later; sugar dissolves poorly into finished foam.
- Froth for 30 to 45 seconds. Keep the whisk head just below the surface, moving slightly up and down. You are looking for the milk to roughly double in volume and turn glossy and thick, like melted ice cream.
- Stop when it holds a soft peak. If you lift the frother and the surface holds a ridge for a second or two before settling, you are done. Over-frothing makes it stiff and dry, and stiff foam sits on top like a hat instead of blending in nicely.
- Pour it slowly over your drink, over the back of a spoon if you want a clean line.
That is it. The proportions scale: a quarter cup of milk tops one drink, half a cup tops two.
Sweet Cream Cold Foam (the Cafe-Style Version)
This is the richer, vanilla-scented version most people are actually thinking of when they ask how to make cold foam.
Ingredients (one drink):
- 3 tablespoons cold 2% milk
- 1 tablespoon heavy cream (or use half-and-half for both)
- 1 to 2 teaspoons vanilla syrup, or 1 teaspoon sugar plus a few drops of vanilla extract
Method: Combine everything cold in a narrow cup. Froth for 30 to 45 seconds until thick and pourable. It should be noticeably heavier than plain milk foam — it pours in a slow ribbon rather than a stream.
Two notes. First, do not go all cream: pure heavy cream will whip into something closer to whipped cream, which floats stiffly and does not blend into the drink. The milk is what keeps it pourable. Second, taste your syrup level in the foam itself — the foam is the only sweet part of the drink, so it should taste a little too sweet on its own.
Choosing Your Milk
Every milk foams, but they do not foam the same. Here is how the common options behave cold.
| Milk | Foam quality | Best for |
|---|---|---|
| Skim | Tallest, lightest, most stable | Maximum volume and a clean layer |
| 2% | Excellent balance of body and volume | The all-around default |
| Whole | Denser, less volume, richer taste | Flavor over height |
| Half-and-half | Very rich, needs more work | Sweet cream style |
| Oat (barista blend) | Very good — thick and stable | The best non-dairy option |
| Soy | Good, protein-rich, holds up well | Reliable non-dairy alternative |
| Almond | Thin and quick to collapse | Works better in barista versions |
| Coconut | Variable; often separates | Flavor-forward drinks |
If you drink non-dairy, look specifically for “barista” formulations. They contain added stabilizers and slightly more fat or protein precisely so they foam, and the difference between barista oat milk and standard oat milk in cold foam is dramatic.
Four Tools, Compared
Handheld milk frother
Inexpensive, fast, easy to clean, and the best texture for the money. Thirty to forty-five seconds gets you there. The one limitation is batch size — it struggles with more than about a cup at a time.
French press
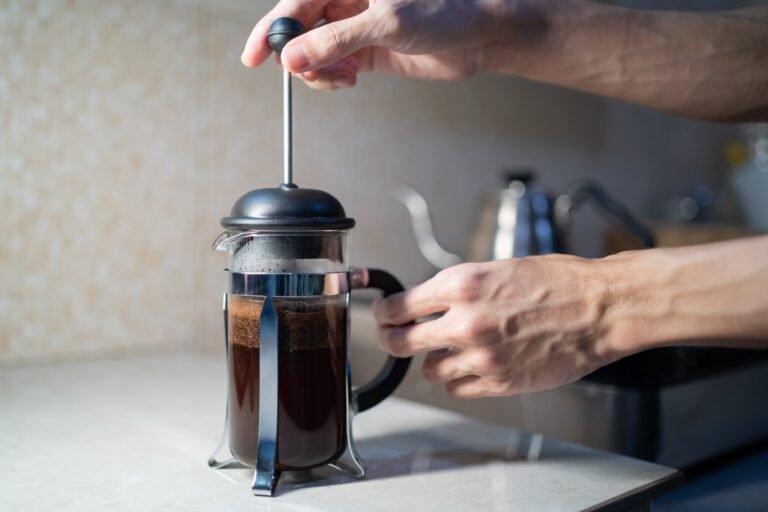
Excellent and probably already in your cupboard. Pour cold milk into the press (no more than a third full), then plunge rapidly for 30 to 60 seconds. The mesh screen does the aerating. It produces a slightly larger bubble than a frother but a very good, stable foam, and it handles bigger batches easily.
Jar with a tight lid
The no-equipment option. Fill a jar no more than a third full, seal it tightly, and shake hard for 45 to 60 seconds. Foam quality is a step below the other methods — bubbles are bigger and it deflates faster — but it absolutely works, and it costs nothing.
Blender or immersion blender
Best for the richest versions. A blender is the right tool when you are using half-and-half or making a big batch for several drinks, since it can force air into a higher-fat liquid that a frother struggles with. Blend in short bursts of 10 to 15 seconds and check between them — a blender goes from perfect to over-whipped quickly.
Flavored Variations
Once the base technique is down, the flavor work is easy. Add these before frothing:
- Vanilla sweet cream: vanilla syrup or extract plus sugar. The default and hard to beat.
- Salted caramel: 2 teaspoons caramel sauce plus a small pinch of salt.
- Brown sugar cinnamon: 1 teaspoon brown sugar and a pinch of cinnamon. Warm and autumnal without being fussy.
- Chocolate: 1 to 2 teaspoons chocolate syrup, or sift in a little cocoa powder with the sugar.
- Matcha: 1/2 teaspoon matcha whisked with a splash of hot water first, then added to the cold milk. Sift it or you will get lumps.
- Pumpkin spice: a spoonful of pumpkin puree, a pinch of pumpkin pie spice, and syrup to taste. Blend rather than froth — puree is too heavy for a handheld whisk.
Powders and purees need more agitation than syrups. If you are adding anything thicker than a syrup, use the blender.
Building the Drink So the Foam Floats
The order matters more than people expect.
- Fill the glass about two-thirds with ice.
- Add any syrup to the coffee and stir before the foam goes on, not after.
- Pour in the cold brew or iced coffee, leaving roughly an inch and a half of headroom.
- Pour the foam slowly over the back of a spoon held just above the coffee surface.
Leaving headroom is the step most people skip, and it is why the foam ends up mixed in instead of layered. If you are starting from scratch on the coffee side, our guide to making iced coffee at home covers the methods that hold up well under a foam cap.
Troubleshooting
The foam is thin and watery. Usually the milk was not cold enough, or you used a low-protein non-dairy milk. Chill the milk properly — and if you can, chill the cup too.
It collapses within a minute. Under-frothed. Go another 15 seconds and look for that glossy, thickened texture rather than just bubbles on the surface.
It sinks straight into the coffee. Either the foam was too thin, or you poured it too fast from too high. Pour slowly, close to the surface, over a spoon.
It is stiff and clumpy and sits on top like a lid. Over-frothed, or too much fat. Cut back on cream, and stop as soon as it holds a soft peak.
It tastes bland even though I sweetened it. The foam gets diluted by the whole drink. Sweeten the foam until it tastes slightly too sweet by itself.
There are visible large bubbles. Tap the cup firmly on the counter two or three times and give it a gentle swirl before pouring. That breaks the big bubbles and tightens the texture.
Making It Ahead
Cold foam is best within a couple of minutes of making it, but you can prep the base. Mix your milk, cream, and syrup together and keep that liquid in the fridge for up to three days — then just pour out a quarter cup and froth it fresh when you want a drink. That removes the measuring step, which is the part that stops people from bothering on a weekday morning.
Already-frothed foam will hold for maybe 10 to 15 minutes in the fridge before it starts separating. You can re-froth it once, though the second round is never quite as good.
The Takeaway
Cold foam is one of the highest-payoff things you can learn in a home coffee setup: a quarter cup of cold milk, a sweetener, and 30 seconds of frothing turns an ordinary iced coffee into something that tastes deliberate.
Start with 2% milk and a handheld frother, get comfortable with the texture, then branch into sweet cream and flavored versions. Keep the milk cold, use a narrow cup, stop at a soft peak, and leave headroom in the glass. Everything else is preference.